Vegetables
Transplanting Tomato Seedlings NZ Spring: Full Guide
2 September 2026 · 8 min read
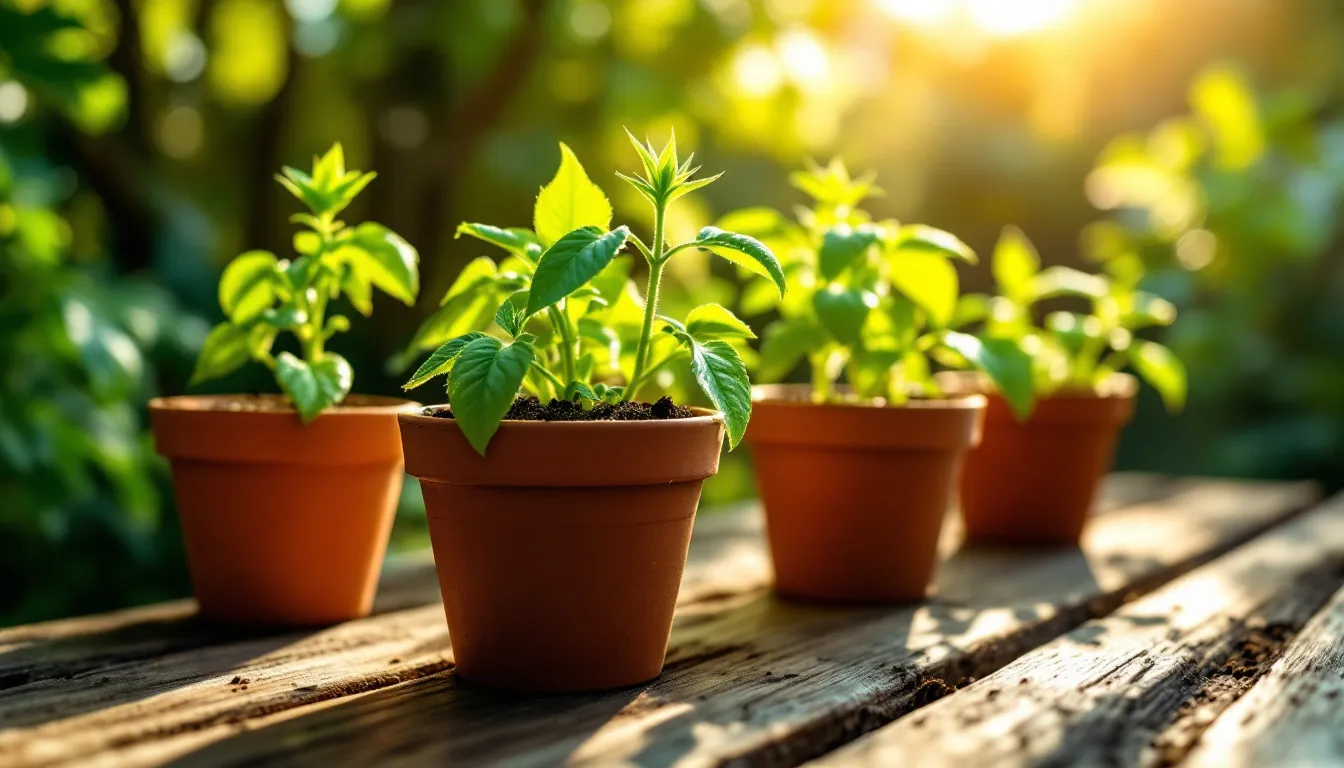
🌱 Transplanting Tomato Seedlings in NZ Spring: Your Complete September Guide
Transplanting tomato seedlings in NZ spring is one of the most exciting — and nerve-wracking — moments in the veggie gardener's calendar. September arrives, the days begin to stretch, and those precious seedlings you've been nursing on the windowsill suddenly look ready to take on the world. But rush the process and you risk cold-shocked, stressed plants that never quite hit their stride. Get it right, and you'll be rewarded with a lush, heavy-cropping tomato plant come January and February. This guide walks you through everything: when to start, how to harden off, how to transplant, and how to set your plants up for a genuinely bumper summer harvest.
🗓️ When Is the Right Time to Transplant Tomatoes in NZ?
New Zealand's north-to-south climate range means there's no single "right" date — timing depends heavily on your region and your overnight temperatures. As a general rule, tomatoes shouldn't go into the ground until the risk of frost has passed and overnight temperatures are consistently above 10°C.
Regional Planting Guide
Northland & Auckland: Transplanting can begin from mid-September. Conditions are warm enough in most years, though a sudden cold snap can still catch you out.
Waikato, Bay of Plenty & Hawke's Bay: Aim for late September to early October. These regions warm up quickly but can still see cold nights in early spring.
Wellington & Taranaki: The wind chill is a real factor here. Wait until at least early October and keep fleece on hand for frosty nights.
Nelson & Marlborough: These sunny regions often allow transplanting from late September, though frost pockets in valleys require extra caution.
Canterbury & Otago: Be patient. Mid to late October — or even early November — is safer. Late frosts are common, and a setback now costs you weeks of growth later.
Southland & Fiordland: November is your friend. Consider growing in a tunnel house or glasshouse for the best results in these cooler climates.
Always check your local 10-day forecast before committing seedlings to the ground. A frost-prediction app or the MetService website is your best mate in September.
🪴 What Does "Hardening Off" Actually Mean?
Hardening off is the gradual process of acclimatising your indoor-raised seedlings to outdoor conditions — wind, direct sun, cooler temperatures, and variable humidity. Seedlings grown on a warm windowsill or in a heated propagator have lived a sheltered life. Plonking them straight into the garden is a shock to the system that can cause wilting, leaf scorch, or stunted growth.
Think of it like taking someone from a cosy indoor office and dropping them into a half-marathon — a bit of training first goes a long way.
Step-by-Step Hardening Off Process (7–14 Days)
Days 1–3: Place seedlings outside in a sheltered, lightly shaded spot for 1–2 hours in the warmest part of the day. Bring them back inside before the temperature drops.
Days 4–6: Increase outdoor time to 4–5 hours. Introduce a little gentle morning sun.
Days 7–9: Leave them outside for most of the day, including some direct sun exposure. Keep them sheltered from strong wind.
Days 10–12: Begin leaving them out overnight if temperatures stay above 10°C. If a cold snap is forecast, bring them in.
Days 13–14: Seedlings should now be comfortable outside around the clock and ready to transplant.
During this process, water consistently but avoid overwatering — soggy roots in cool soil are a fast track to fungal problems. A cloche or cold frame is incredibly handy for this stage if you have one.
🌿 How to Transplant Tomato Seedlings: Step by Step
Once your seedlings are hardened off and your soil is workable and warming up, it's time to transplant. Done well, this process sets the foundations for months of productive growth.
Prepare Your Soil First
Tomatoes are hungry plants and they'll reward you generously if you prepare the bed properly. A week or two before transplanting:
Dig in a generous amount of well-rotted compost or aged animal manure to a depth of at least 30–40 cm.
Work in a balanced slow-release vegetable fertiliser to give plants a steady nutrient supply as they establish.
Check your soil pH — tomatoes prefer a slightly acidic to neutral pH of 6.0–6.8. A garden lime application can raise pH if your soil is too acidic.
If your soil is heavy clay, add compost and grit to improve drainage. Waterlogged roots are a tomato's worst enemy.
Choose the Right Spot
Tomatoes need at least 6–8 hours of direct sunlight per day — a north-facing bed is ideal in the southern hemisphere.
Shelter from strong prevailing winds will help with pollination and reduce plant stress.
Avoid planting in the same spot where tomatoes, potatoes, or capsicums grew last year to reduce disease risk.
Planting Technique
Dig a hole deeper than the seedling's root ball — tomatoes can be planted deep, burying up to two-thirds of the stem. Roots will form along the buried stem, creating a stronger, more resilient plant.
Remove any leaves that would sit below the soil surface.
Water the hole before placing the seedling in — this settles soil around the roots without compacting it from above.
Backfill gently and firm the soil around the base of the stem.
Water thoroughly after planting and apply a layer of mulch (pea straw, sugarcane mulch, or untreated bark) around the base to retain moisture and suppress weeds. Keep mulch a few centimetres clear of the stem to prevent rot.
Install your stakes, cages, or trellis system at planting time — doing it later risks damaging roots.
Spacing
Indeterminate (vining) varieties: 60–90 cm apart.
Determinate (bush) varieties: 45–60 cm apart.
🌞 After Transplanting: Keeping Your Plants Happy
The first two weeks after transplanting are critical. Your plants are establishing their root systems and adjusting to outdoor conditions, so give them a little extra attention.
Watering: Keep the soil consistently moist but never waterlogged. Deep, infrequent watering (rather than a light daily sprinkle) encourages roots to grow deeper into the soil.
Frost protection: Keep a supply of frost cloth handy throughout September and into October. A single frost event can wipe out unprotected seedlings overnight.
Feeding: Hold off on heavy nitrogen feeding until plants are established and starting to grow. Too much nitrogen early on pushes leafy growth at the expense of fruit.
Pinching out laterals: For indeterminate varieties, begin removing the side shoots (laterals) that develop in the junction between the main stem and the leaf branches. This directs the plant's energy into fruit production.
Watch for pests: Slugs and snails love young transplants. Use bait, copper tape, or a beer trap around your plants in those first few weeks.
🛒 Stock Up at Botanical Love
Ready to give your tomato seedlings the best possible start this spring? At Botanical Love, you'll find everything you need to make transplanting season a success. Browse our range of:
Vegetable seeds — including a wide selection of tomato varieties suited to NZ conditions, from heirloom Brandywines to compact cherry types perfect for containers.
Seed-raising mix and potting mix — light, free-draining blends ideal for healthy seedling development.
Slow-release vegetable fertilisers — to keep your tomatoes fed right through the season.
Frost cloth and cloches — your insurance policy against those sneaky late-spring frosts.
Garden stakes, ties, and tomato cages — everything you need to support your plants as they grow tall and heavy with fruit.
Visit botanicallove.co.nz and explore our Vegetables category — we ship right across Aotearoa, from Kaitāia to Invercargill.
❓ Frequently Asked Questions
Can I transplant tomato seedlings in September in New Zealand?
In warmer northern regions like Northland and Auckland, mid-to-late September is often fine. In cooler areas like Canterbury, Otago, and Southland, it's safer to wait until October or November. Always check overnight temperatures and keep frost cloth on hand.
How tall should tomato seedlings be before transplanting?
Aim for seedlings that are 15–25 cm tall with a sturdy stem and at least two to three sets of true leaves. Avoid transplanting seedlings that are too leggy — though remember that tomatoes can be planted deeply to compensate for a long stem.
How long does hardening off take?
A proper hardening-off period takes 7–14 days. Don't rush it — cutting this process short is one of the most common reasons transplanted seedlings struggle in their first few weeks outdoors.
Should I water tomato seedlings immediately after transplanting?
Yes, absolutely. Water the planting hole before you place the seedling in, and water again thoroughly once you've backfilled the soil. This helps settle soil around the roots and prevents air pockets that can dry out tender root tips.
What's the biggest mistake people make when transplanting tomatoes in spring?
Planting out too early without proper hardening off — or skipping frost protection — are the two most common mistakes. A cold shock or a single frost event can set plants back by weeks, ultimately reducing your summer yield. Patience in September pays off handsomely in January.
— Botanical Love
Keep reading
More from the Blog
Vegetables
What to Plant in September NZ: Spring Seed-Sowing Guide
Discover what to plant in September NZ with our ultimate spring seed-sowing guide. Warm-season veggies, sowing tips & regional advice for Kiwi gardeners.
Seed Saving
Seed Saving NZ Winter: Clean, Dry & Store Seeds for Spring
Master seed saving in NZ winter. Learn how to clean, dry & store your seeds properly so they're ready to germinate come spring. Expert tips for Kiwi gardeners.