Seed Saving
Seed Saving NZ Winter: Clean, Dry & Store Seeds for Spring
7 August 2026 · 7 min read
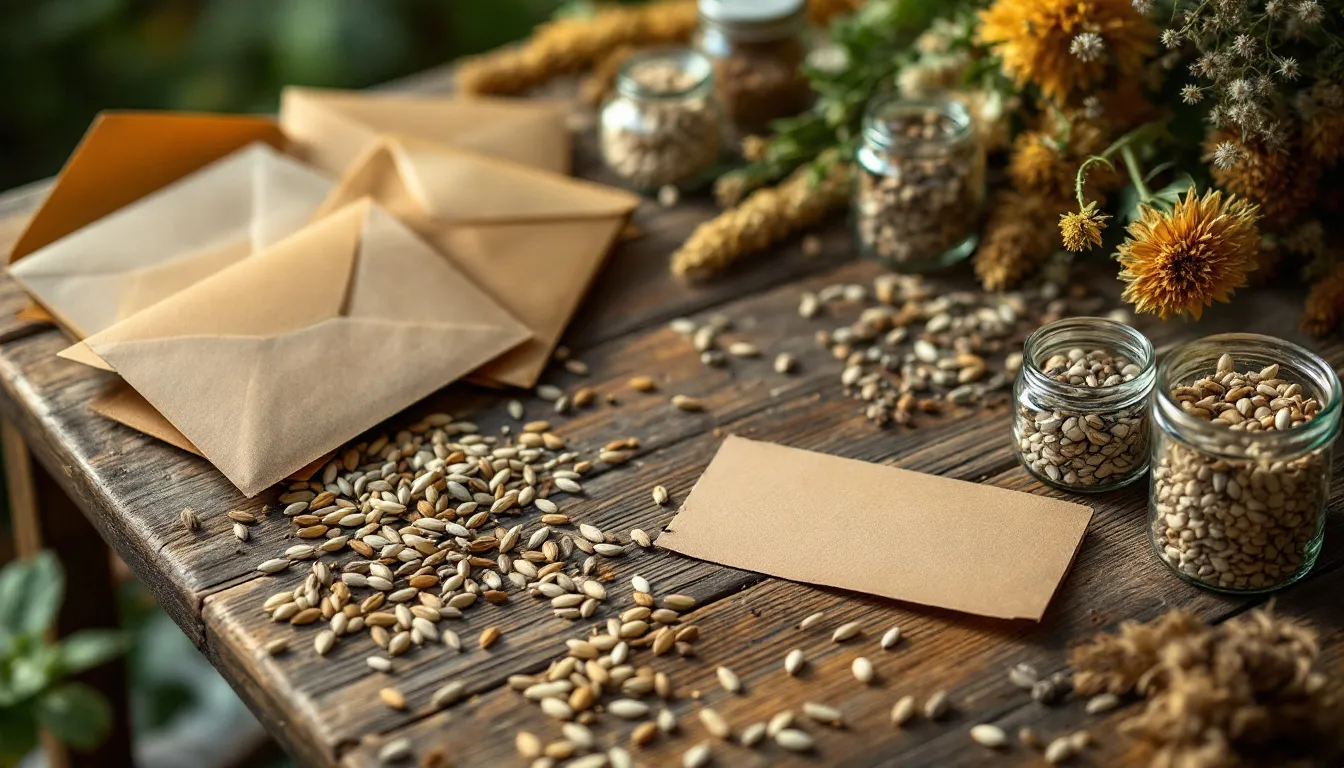
🌱 Why Seed Saving in NZ Winter Is the Smartest Thing a Kiwi Gardener Can Do
Seed saving in NZ winter is one of the most rewarding — and economical — habits you can build as a gardener. While the vege beds are quiet and the frosts are settling in across Southland, Canterbury, and the Central Plateau, those last straggly tomato vines and bolted lettuces you left standing through autumn were actually doing you a favour. They've been quietly maturing seeds that, with a little care right now, will fuel your entire spring garden for free. Whether you're in subtropical Northland or chilly Otago, the June–August window is the perfect time to get your seed tin sorted, labelled, and ready for the September rush.
🌿 Which Seeds Are Worth Saving?
Not every seed is created equal when it comes to saving. Getting this right first will save you plenty of frustration down the track.
Always Save Open-Pollinated and Heirloom Varieties
Open-pollinated (OP) and heirloom varieties breed true — meaning the seedlings you grow next spring will closely resemble the parent plant. These are the seeds worth investing your time in. Look for heirloom tomatoes, heritage beans, old-fashioned zucchini, and traditional lettuces.
Avoid Saving F1 Hybrid Seeds
F1 hybrid seeds — often marked on the packet — won't reliably reproduce the parent plant. The offspring can revert to one of the parent lines and produce disappointing or unpredictable results. It's best to buy these fresh each season.
Top Crops for NZ Seed Savers
Tomatoes — ferment and dry beautifully; great for all NZ regions
Beans and peas — simply let the pods dry on the vine; dead easy
Courgette and pumpkin — large seeds that dry quickly
Lettuce and silverbeet — prolific seed producers; bolt in late summer
Coriander, dill, and fennel — seed heads form readily in NZ summers
Capsicum and chilli — scrape, rinse, and dry on paper towels
Kale and cavolo nero — let pods shatter-dry on the plant before collecting
🧹 How to Clean Your Seeds Properly
Clean seeds store better and germinate more reliably. Leftover plant material can harbour moisture and mould — the enemy of a healthy seed tin. Here's how to clean the most common types.
Wet-Process Seeds (Tomatoes, Cucumbers, Courgette)
Scoop the seeds and their gel into a jar with a little water.
Leave to ferment at room temperature for 2–3 days, stirring daily. A layer of mould forming on top is normal and actually helps break down the gel coating that inhibits germination.
Add more water and stir vigorously — viable seeds will sink, debris floats.
Pour off the water and debris, then rinse the good seeds in a fine sieve.
Tip onto a ceramic plate or glass surface (not paper — they'll stick!) and spread in a single layer.
Dry-Process Seeds (Beans, Peas, Lettuce, Brassicas, Herbs)
Harvest pods or seed heads once they're fully brown and papery on the plant — ideally on a dry, sunny afternoon before any rain.
Place in a paper bag and shake vigorously, or thresh gently between your palms over a clean sheet.
Use a fan or gentle breath to blow away the chaff — the heavier seeds will stay put.
Remove any remaining stems or leaf fragments by hand.
☀️ Drying Seeds for Long-Term Storage
This is the step most home gardeners rush — and it causes more seed failures than almost anything else. Seeds must be completely dry before storage. Any residual moisture leads to mould, premature sprouting, or total viability loss.
The Golden Rules of Drying
Spread seeds in a single layer on a non-stick surface (ceramic, glass, or a fine mesh screen).
Dry indoors in a warm, well-ventilated spot — not in direct sun, which can damage the embryo.
Aim for a room temperature of around 20–25°C. Avoid drying near a heat pump or oven — too much direct heat is harmful.
Allow at least 1–2 weeks for small seeds and up to 3–4 weeks for large, fleshy seeds like pumpkin or tomato.
The "snap test": a well-dried bean or pea should snap cleanly rather than bend.
In damp regions like Fiordland or the West Coast, consider using a food dehydrator on its lowest setting (under 35°C) to finish the drying process.
📦 How to Store Seeds Over NZ Winter
You've cleaned and dried your seeds beautifully — now it's time to store them so they last until spring (and beyond). The three enemies of seed viability are heat, light, and moisture. Your storage system should protect against all three.
Best Storage Containers
Small glass jars with lids — airtight and easy to label; op-shop jam jars are perfect
Coin envelopes or seed envelopes — ideal for organising within a larger airtight container
Resealable zip-lock bags — good, but squeeze out as much air as possible
Adding a Desiccant
Pop a small silica gel sachet (the kind that comes in shoe boxes or vitamin containers — save them!) into your seed tin or storage jar. This absorbs any sneaky residual moisture. Alternatively, a tablespoon of dry milk powder wrapped in a tissue works well in a pinch.
The Ideal Storage Environment
Store in a cool, dark place — a cupboard away from the oven or hot water cylinder is ideal.
Consistent temperature is more important than cold temperature. Avoid spots that fluctuate wildly between warm days and cold nights.
For long-term storage (2+ years), the fridge is excellent — place seeds in an airtight container first, and let them come to room temperature before opening to avoid condensation.
Label every packet clearly: crop variety, harvest date, and any notes about the parent plant (e.g., "the big Brandywine from the Whanganui plot").
How Long Do Seeds Last?
1–2 years: Onions, leeks, parsnips, parsley
2–3 years: Sweetcorn, capsicum, spinach
3–5 years: Tomatoes, beans, peas, lettuce, brassicas
5+ years: Pumpkin, cucumber, courgette (if kept very dry and cool)
🗓️ Getting Organised Before Spring Arrives
Winter is the perfect time to do a full audit of your seed collection. Lay everything out, check dates, and do a quick germination test on any older stock — just wrap 10 seeds in a damp paper towel, seal in a bag, and leave in a warm spot for a week. If fewer than 5–6 germinate, it's time to top up that variety. Make a "seeds to buy" list now so you're not scrambling when spring sales kick off in September. Organised gardeners are always the ones eating ripe tomatoes first.
🛒 Stock Up at Botanical Love This Winter
If your seed audit reveals a few gaps — or you're keen to add some new heirloom varieties to your saving rotation — we'd love to help. At Botanical Love, you'll find a carefully curated range of open-pollinated and heirloom seeds perfectly suited to New Zealand conditions, along with seed-saving supplies including envelopes, labels, and storage tins. Browse our Seeds collection and Seed Saving Supplies at botanicallove.co.nz — because the best spring gardens are planned in winter.
Frequently Asked Questions
When is the best time to save seeds in New Zealand?
Late summer to early autumn (February–April) is the ideal time to harvest seeds from your garden as plants finish cropping. Winter (June–August) is then perfect for cleaning, drying, and organising them ready for spring sowing in September.
Can I save seeds from supermarket vegetables and fruits?
Sometimes, but it's hit and miss. Many commercially grown vegetables are F1 hybrids that won't reproduce true-to-type. Supermarket tomatoes and pumpkins are worth trying — just check they're ripe and the seeds are fully formed. Heirloom varieties from a reputable seed supplier are always a more reliable starting point.
How do I know if my saved seeds are still viable?
Do a simple germination test: place 10 seeds on a damp paper towel, fold it over, pop it in a zip-lock bag, and keep it somewhere warm (around 20°C) for 7–10 days. Count how many sprout — a rate of 70% or above means your seeds are good to go.
My seeds went mouldy in storage. What went wrong?
Mould almost always means the seeds weren't fully dry before being sealed away, or there was moisture in the storage container. Make sure seeds feel crisp and snap (rather than bend), and always add a silica gel desiccant sachet to your storage tin or jar.
Do I need to isolate plants to save pure seeds?
For crops that cross-pollinate easily — like brassicas, courgettes, and corn — yes, isolation distance or physical barriers (like bagging flowers) help maintain variety purity. Self-pollinating crops like tomatoes, beans, and peas are much simpler, as they rarely cross with neighbours and are ideal for beginner seed savers.
— Botanical Love
Keep reading
More from the Blog
Vegetables
Growing Brassicas from Seed NZ Winter: August Guide
Start growing brassicas from seed NZ winter style — raise broccoli, cabbage & kale indoors in August for a flying spring start. Tips for all NZ regions.
Soil
Winter Soil Preparation NZ: Build Living Soil for Spring
Get your NZ garden beds spring-ready now. Learn how to test, amend & build living soil this winter so your plants explode into growth from September onwards.