Gardening Tips
Pricking Out Seedlings NZ Spring: When, Why & How
8 September 2026 · 8 min read
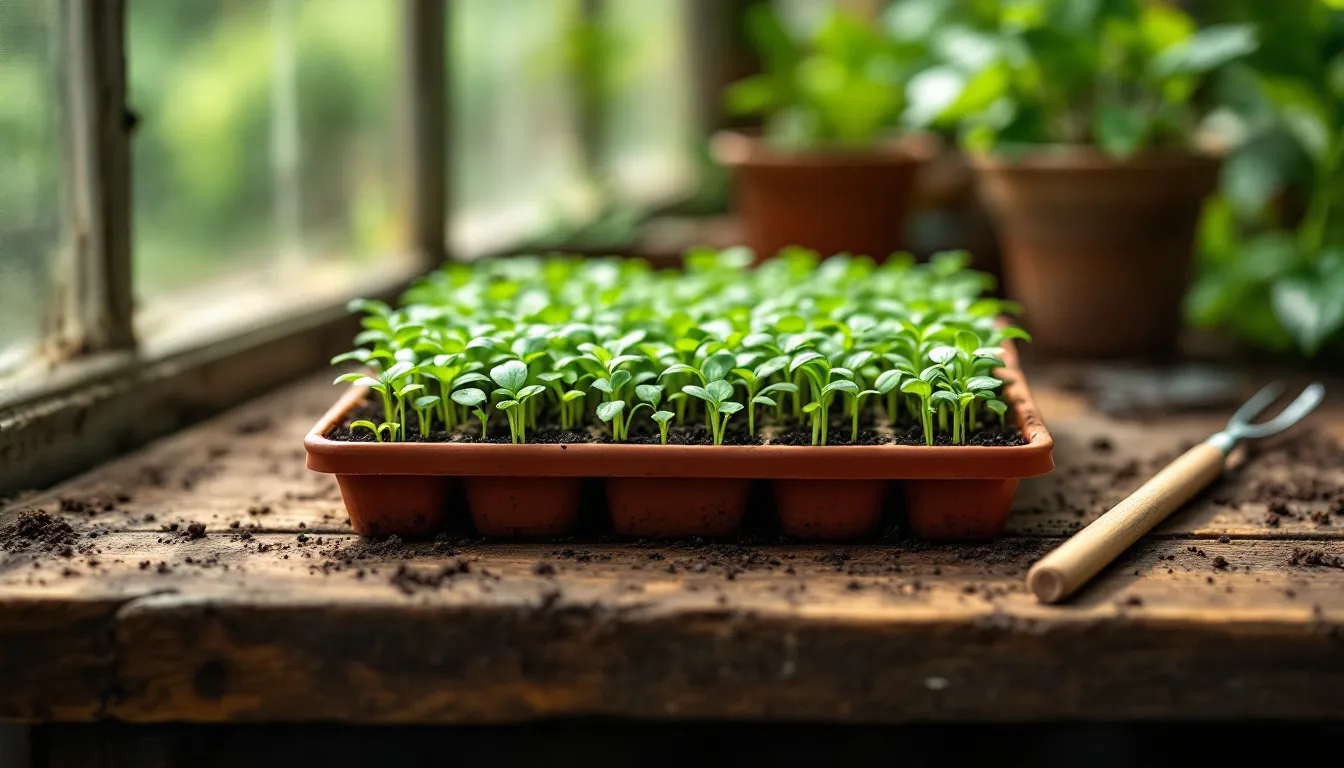
Why Pricking Out Seedlings in NZ Spring Makes All the Difference 🌱
Pricking out seedlings in NZ spring is one of those small tasks that separates a struggling punnet of plants from a thriving, productive garden. If you've ever sown seeds only to watch them grow tall, leggy, and weak — or worse, keel over from damping off — chances are they needed thinning or pricking out much sooner than they got it. September through November is prime time across Aotearoa to be sowing and transplanting, and understanding when and how to prick out your seedlings can genuinely transform your results this season.
What Is Pricking Out — and How Is It Different from Thinning? 🌿
These two terms are often used interchangeably, but they're slightly different techniques:
Thinning means removing surplus seedlings from where they've germinated — usually in a row or a seed tray — so the remaining ones have space to develop. The thinned seedlings are typically discarded (or eaten, in the case of microgreens and salad leaves!).
Pricking out means carefully lifting individual seedlings from a communal seed tray and transplanting each one into its own pot or cell tray, where it can grow on with more room, nutrients, and airflow before going into the garden.
Both techniques reduce competition between seedlings, improve air circulation, and give each plant the resources it needs to build a strong root system and sturdy stems.
When to Prick Out Seedlings in Spring ⏰
Timing is everything. Prick out too early and you risk snapping fragile stems; too late and the roots will have tangled together into an impossible mat.
The Magic Marker: True Leaves
The best indicator that seedlings are ready for pricking out is the appearance of their first set of true leaves. These are the leaves that grow after the initial seed leaves (cotyledons) and actually look like a miniature version of the mature plant's foliage. At this stage:
The seedling has enough stored energy to handle the stress of transplanting.
The root system is developed but not yet tangled with neighbours.
The stem is sturdy enough to handle without snapping.
NZ Regional Timing Guide
Spring arrives at different speeds across our long country, so adjust your timing accordingly:
Northland & Auckland: Sowing can begin in August under shelter; pricking out often starts from mid-September.
Waikato, Bay of Plenty & Hawke's Bay: Most seedlings sown in September will be ready to prick out from late September into October.
Wellington & Nelson: October is the sweet spot for pricking out most warm-season crops.
Canterbury & Otago: Spring frosts linger; aim to prick out indoors or under glass from mid-October, hardening off for outdoor planting in November.
Southland & Central Otago: Work to a late-October to November pricking-out schedule; frost risk is real right through spring.
Why Pricking Out Matters So Much 💪
Skipping this step is tempting when life gets busy, but overcrowded seedlings face a cascade of problems:
Competition for nutrients: Overcrowded seedlings exhaust the limited nutrition in seed-raising mix very quickly.
Etiolation (legginess): Seedlings competing for light stretch upward, producing weak, floppy stems that struggle to support the plant later.
Poor airflow: Tight clusters of seedlings trap moisture and create the perfect conditions for fungal diseases like damping off, which can wipe out an entire tray overnight.
Root competition: Roots from neighbouring plants rob each other of moisture and space, stunting development.
Giving each seedling its own space is essentially an act of kindness — and your future self, harvesting tomatoes or cutting zinnias in summer, will thank you for it.
What You'll Need 🛠️
A dibber or pencil (for making holes and gently levering roots free)
Individual cell trays, small pots, or biodegradable pots (7–9 cm is ideal for most seedlings)
Good quality potting mix — not seed-raising mix, which is too low in nutrients for growing-on
A spray bottle or fine-rose watering can
A clean, sheltered workspace out of direct wind and harsh midday sun
How to Prick Out Seedlings: Step-by-Step 📋
Water the seed tray an hour before you begin. Moist compost clings to roots and reduces transplant shock. Bone-dry mix crumbles and breaks delicate root hairs.
Prepare your new containers. Fill cell trays or pots with damp potting mix and use your dibber to make a hole deep enough to accommodate the seedling's root system without bending or cramping it.
Lever, don't pull. Slide your dibber or a pencil into the seed tray beside the seedling and gently lever it up from below. Always handle the seedling by a leaf, never by the stem — stems bruise and break easily, but a lost leaf rarely kills a plant.
Lower it into the hole. The seedling should sit at roughly the same depth it was growing at before — though tomatoes and other plants that can root along their stems can be planted a little deeper.
Firm gently around the roots. Press the mix lightly around the seedling to eliminate air pockets, but don't compact it.
Water in carefully. Use a fine rose or misting bottle to settle the mix without washing the seedling over. A weak liquid seaweed solution at this stage can help reduce transplant shock.
Place in indirect light for a day or two. Give seedlings a brief period out of intense sunshine to recover before returning them to their bright growing spot.
Thinning Seedlings Sown Direct in the Garden 🌾
Not everything gets pricked out into pots — root vegetables like carrots, beetroot, and parsnips hate being transplanted and are always sown directly into the ground. For these, thinning is the answer.
How to Thin Direct-Sown Crops
Wait until seedlings are 3–5 cm tall and identifiable.
Check the seed packet for the recommended final spacing (e.g., carrots: 5–8 cm apart; beetroot: 10 cm apart).
Snip unwanted seedlings at soil level with small scissors rather than pulling — pulling can disturb the roots of the seedlings you want to keep.
Thin in stages if you're not confident — thin once, wait a week, then thin again to the final spacing.
Thin lettuces and Asian greens? Eat those thinnings! Baby leaves are delicious.
Common Mistakes to Avoid ⚠️
Waiting too long: Once seedlings are root-bound in a tray, pricking out becomes very disruptive. Watch for that first true leaf and act.
Handling by the stem: A pinched stem means a dead seedling. Always hold a leaf.
Using seed-raising mix to pot on: It's formulated for germination, not growth. Switch to a good potting mix once seedlings are in individual pots.
Overwatering after transplanting: Keep the mix moist, not sodden. Waterlogged roots are as damaging as drought.
Skipping hardening off: Seedlings raised under glass or indoors need a gradual introduction to outdoor conditions — wind, stronger UV, and temperature swings — over 7–10 days before planting out.
Shop What You Need at Botanical Love 🛒
Ready to give your spring seedlings the best possible start? At botanicallove.co.nz you'll find everything you need to get pricking out and thinning sorted:
A wide range of vegetable, herb, and flower seeds perfect for spring sowing across all NZ regions
Seed-raising supplies including trays, cell packs, and biodegradable pots
Quality potting and growing media for potting on your pricked-out seedlings
Gardening tools to make every step easier and more enjoyable
Browse our Seeds, Gardening Supplies, and Seedling & Growing categories at botanicallove.co.nz — we'd love to help you grow something wonderful this spring.
Frequently Asked Questions
How do I know when seedlings are ready to prick out?
Look for the first set of true leaves — the leaves that appear after the initial seed leaves (cotyledons) and resemble the mature plant's foliage. This is the ideal window to prick out before roots become tangled.
Can I prick out seedlings on a cold spring day in NZ?
Yes, as long as you're working in a sheltered spot — a glasshouse, cold frame, or even indoors on a bench. Avoid pricking out on frosty mornings or in strong wind, which stresses seedlings. In cooler regions like Canterbury and Southland, keep pricked-out seedlings under cover until nighttime temperatures are consistently above 8–10°C.
Why are my seedlings so leggy and weak?
Leggy seedlings are almost always caused by insufficient light or overcrowding. Make sure seed trays are in a very bright position (a north-facing windowsill or a glasshouse works well), and prick out or thin as soon as true leaves appear to reduce competition.
Do I need to fertilise seedlings after pricking out?
If you've potted on into a good-quality potting mix, additional fertiliser isn't usually needed immediately. After 2–3 weeks, a diluted liquid seaweed or fish fertiliser applied weekly will give seedlings a gentle nutritional boost to keep them growing strongly.
Which vegetables should I thin rather than prick out?
Root vegetables — carrots, parsnips, radishes, and beetroot — dislike having their roots disturbed and should always be direct-sown and thinned in place. Peas and beans are also best sown direct. Most other vegetables, including tomatoes, peppers, brassicas, lettuce, and herbs, respond well to being pricked out into individual pots before transplanting to the garden.
— Botanical Love
Keep reading
More from the Blog
Vegetables
Growing Capsicums from Seed NZ: Full Spring Guide
Learn how to grow capsicums from seed in NZ — indoor sowing in September, heat tips, transplanting timing & best varieties for NZ gardens. Full spring guide.
Herbs
Growing Basil from Seed NZ Spring: Your Full Guide
Learn how to grow basil from seed in NZ this spring. Timing, warmth tips, pinching secrets & more — your complete September sowing guide for Kiwi gardeners.