How to Make Your Own Worm Farm at Home
11 July 2026 · 5 min read
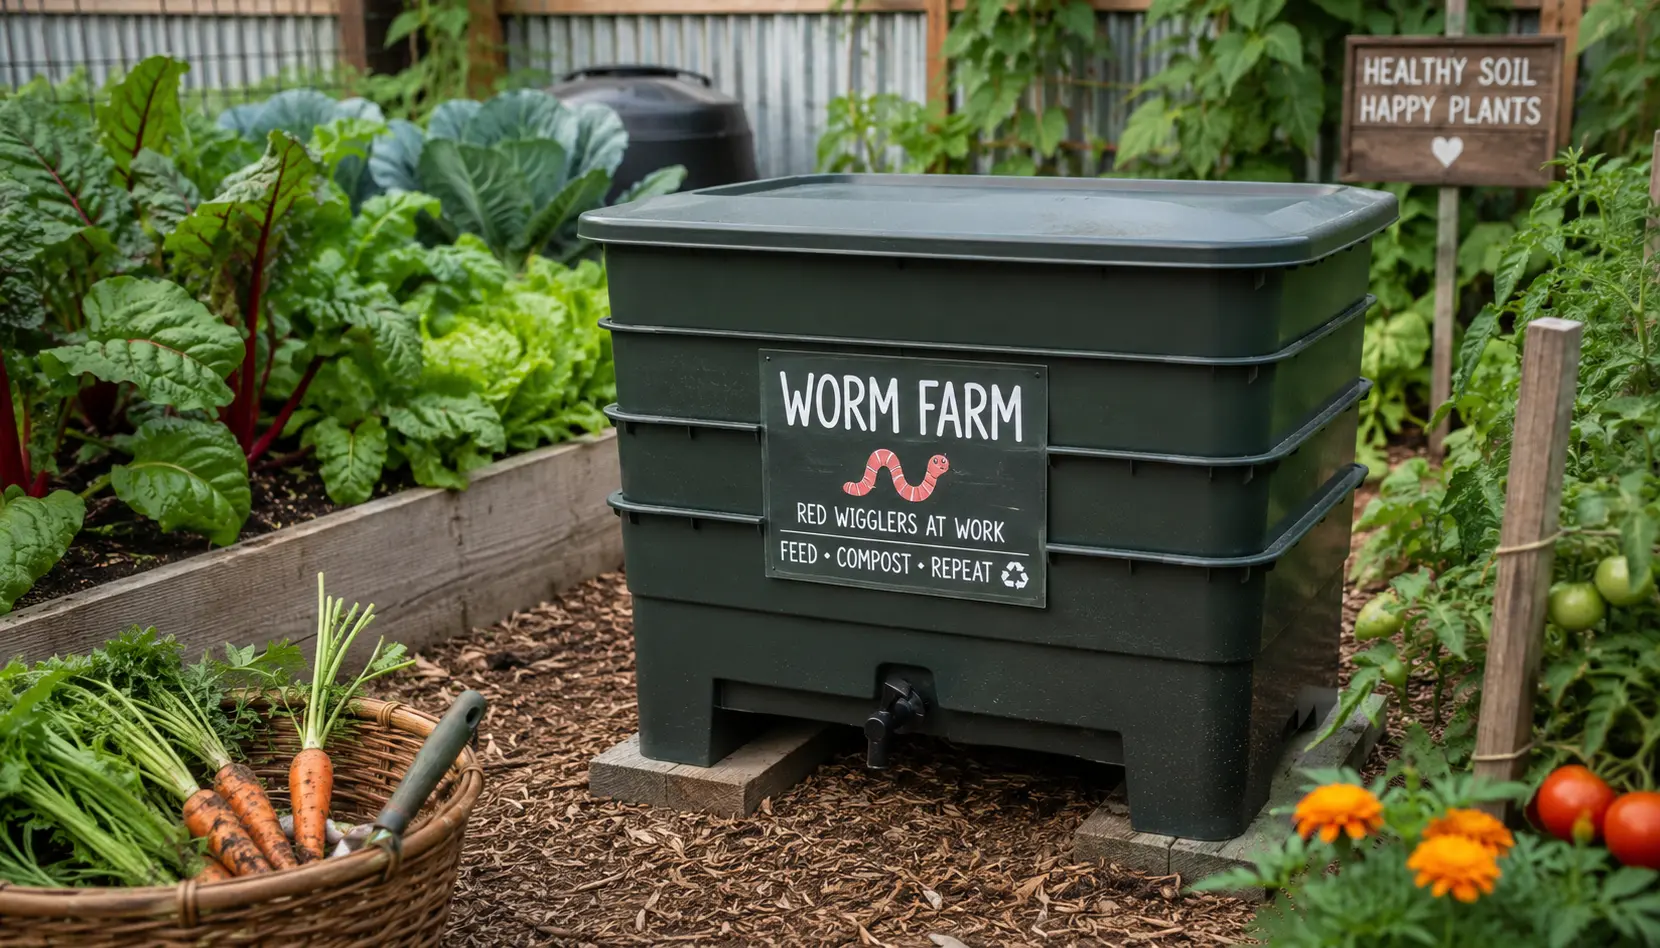
A home worm farm is one of the easiest and most rewarding ways to recycle kitchen scraps, reduce household waste, and create nutrient-rich compost for your garden. Whether you live in the city or countryside, worm farming is simple to set up and can help grow healthier vegetables, flowers, herbs, and fruit trees naturally.
Why Start a Worm Farm?
Worm farms turn everyday food scraps into valuable worm castings and liquid fertilizer, often called “worm tea.” These natural products improve soil structure, feed plants, and encourage strong root growth.
Benefits of a home worm farm include:
Reducing food waste sent to landfill Creating free organic fertilizer Improving vegetable gardens and flower beds Supporting sustainable gardening Easy maintenance for beginners Suitable for small backyards or patios What You Need to Build a Worm Farm
You can buy a ready-made worm farm or make your own using simple materials.
Materials Needed Two or three plastic storage bins with lids A drill for air and drainage holes Bricks or wooden blocks Newspaper or cardboard Compost worms A small tray or container to collect liquid fertilizer Best Worms for Worm Farming
The best worms for composting are tiger worms or red wigglers. These worms thrive in compost conditions and quickly break down food scraps. Avoid using ordinary garden earthworms, as they do not perform well in worm farms.
Step-by-Step Guide to Making a Worm Farm 1. Prepare the Bins
Drill small holes in the bottom of the top bin for drainage and holes around the sides for airflow. Place this bin inside or above another bin to catch excess liquid.
Raise the worm farm slightly off the ground using bricks or blocks.
2. Add Bedding
Create soft bedding for the worms using:
Damp shredded newspaper Cardboard pieces Coconut coir A handful of garden soil or compost
The bedding should feel moist but not soaking wet.
3. Add the Worms
Place your compost worms gently onto the bedding. Give them time to settle before adding too much food.
A good starter amount is around 500–1000 worms.
4. Feed Your Worms
Add small amounts of kitchen scraps such as:
Vegetable peelings Fruit scraps Coffee grounds Tea leaves Crushed eggshells
Avoid feeding:
Meat Dairy Oily foods Citrus in large amounts Onion and garlic excess
Cover food scraps with damp newspaper to help reduce smells and pests.
5. Keep the Worm Farm Healthy
Worms prefer cool, moist, and dark conditions. Place your worm farm in a sheltered area away from direct sun and heavy rain.
Check moisture regularly. If the farm becomes too wet, add dry cardboard or paper. If too dry, lightly spray with water.
Harvesting Worm Castings
After a few months, your worms will produce dark, crumbly compost called worm castings. This can be mixed into garden beds, potting soil, or around plants.
Worm tea collected from the bottom tray can be diluted with water and used as a liquid fertilizer.
Common Worm Farm Problems Bad Smells
Usually caused by overfeeding or too much moisture. Reduce food scraps and add dry bedding.
Fruit Flies
Cover food scraps well and avoid leaving exposed fruit on top.
Worms Escaping
Often caused by unsuitable conditions such as excessive heat, acidity, or poor airflow.
Tips for Successful Worm Farming Feed little and often Chop food scraps into smaller pieces Keep bedding moist Harvest compost regularly Protect worms from extreme temperatures Final Thoughts
Building your own worm farm at home is an easy and environmentally friendly project that benefits both your garden and the planet. With just a few simple materials and regular kitchen scraps, you can create rich organic fertilizer year-round while reducing household waste naturally.
A healthy worm farm can quickly become one of the most valuable parts of any home garden.
— Botanical Love
Keep reading
More from the Blog
Zucchini Chutney & Relish: Make Your Own NZ Garden 🌱✨
🌱 From Garden Glut to Gorgeous Jars — Zucchini Chutney Relish NZ Style If you've ever grown zucchinis in a New Zealand summer, you know the joy — and the mild panic — of watching your plants produce way more than you bargained for! 🥰 That's exactly why learning to make your own zucchini chutney relish NZ style is such a game-changer. Instead of giving away bags of courgettes to every neighbour on the street, you can transform that beautiful bumper harvest into jars of golden, flavour-packed chutney and relish that you'll treasure all year long. ✨ Imagine opening your pantry in the middle of winter and pulling out a jar of summer sunshine you made with your own hands — how amazing is that?!
🌿 Grow & Process Your Own Sugar Cane into Sugar in NZ!
If you've ever dreamed of producing your very own sweetener straight from the garden, learning to grow sugar cane NZ-style is one of the most exciting and rewarding projects you can take on! 🌱 Sugar cane (Saccharum officinarum) is a magnificent, towering tropical grass that thrives surprisingly well in the warmer corners of Aotearoa — and the best part is, it's far more achievable than most Kiwi gardeners realise. Imagine walking out to your backyard, harvesting a bundle of golden canes, and squeezing fresh juice to make your very own raw sugar or golden syrup. How amazing is that?! This guide walks you through absolutely everything — from choosing the right variety and finding the perfect spot, all the way through to processing your harvest into real, homemade sweetness. ✨