How to Grow Watermelon From Seed: A Complete Beginner’s Guide
7 May 2026 · 5 min read
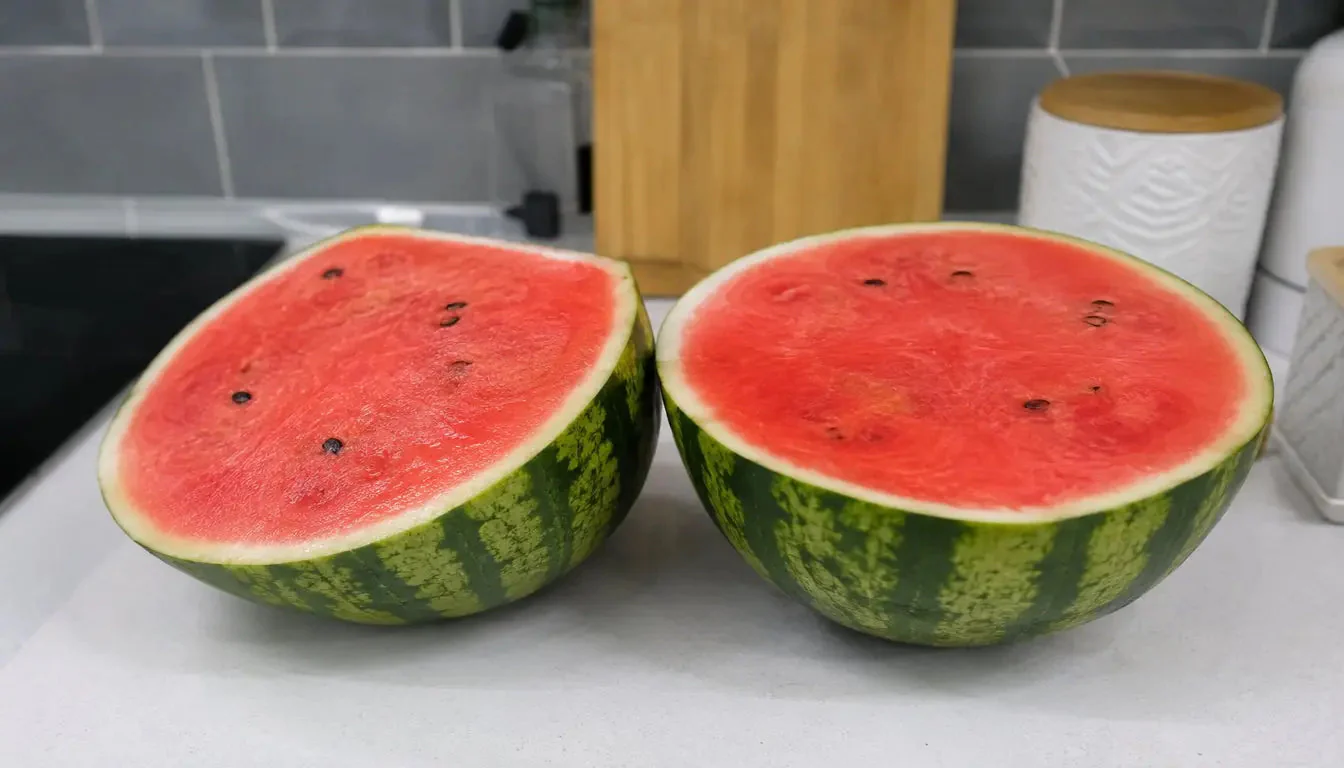
Few things feel more rewarding in the garden than slicing open a homegrown watermelon on a warm summer day. Sweet, juicy, and packed with flavour, watermelons are surprisingly easy to grow when given the right conditions. Whether you are planting in a backyard garden, raised bed, or large container, growing watermelon from seed can be a fun and satisfying project for gardeners of all experience levels.
At Botanical Love Seed we love helping gardeners grow healthy, productive plants from seed naturally and successfully.
Why Grow Watermelon From Seed?
Growing watermelon from seed gives you access to a wider range of varieties than you’ll usually find in garden centres. You can choose from traditional large melons, compact varieties for smaller gardens, or even unique coloured flesh types.
Benefits of growing watermelon from seed include:
Better variety selection Lower cost compared to seedlings Stronger root systems Fresh, sweet fruit straight from your garden A rewarding gardening experience for the whole family Choosing the Right Watermelon Variety
Before planting, it’s important to choose a watermelon variety suited to your climate and available growing space.
Popular options include:
Crimson Sweet Sugar Baby Charleston Gray Golden Midget Moon and Stars
For smaller New Zealand gardens, compact varieties like Sugar Baby are often easier to manage and mature faster.
When to Plant Watermelon Seeds
Watermelons love warmth. Seeds should only be planted once the danger of frost has passed and soil temperatures are consistently warm.
In most parts of New Zealand:
Spring to early summer is ideal Soil temperature should be at least 20°C Air temperatures should stay warm both day and night
Cold soil can slow germination or cause seeds to rot before sprouting.
Preparing the Soil
Watermelons are heavy feeders and grow best in rich, well-draining soil.
Before planting:
Choose a sunny location with at least 6–8 hours of sunlight daily. Add compost or aged manure to enrich the soil. Ensure good drainage to prevent root rot. Aim for slightly acidic to neutral soil.
Loose soil also helps the vines spread easily and supports healthy root growth.
How to Plant Watermelon Seeds
Planting watermelon seeds correctly gives them the best start.
Direct Sowing Method Create small hills or mounds around 1 metre apart. Plant 2–3 seeds per mound. Sow seeds about 2–3 cm deep. Water gently after planting.
Once seedlings emerge, thin to the strongest plant per mound.
Starting Seeds Indoors
In cooler regions, starting seeds indoors can help extend the growing season.
Start seeds 3–4 weeks before transplanting Use biodegradable pots to reduce transplant shock Keep seedlings warm and sunny Harden off plants before moving outdoors Watering Watermelon Plants
Consistent watering is essential for healthy growth and sweet fruit production.
Watermelon plants prefer:
Deep watering Moist but not waterlogged soil Reduced watering once fruits begin ripening
Avoid overhead watering where possible, as wet leaves can encourage disease.
Mulching around plants helps retain moisture and keeps weeds under control.
Feeding Watermelon Plants
Watermelons grow quickly and benefit from regular feeding.
Good options include:
Compost tea Liquid seaweed Balanced organic fertiliser Potassium-rich fertilisers during fruiting
Too much nitrogen can produce lots of leaves but fewer fruits, so balance is important.
Pollination and Flowering
Watermelon plants produce both male and female flowers.
Bees and pollinators are essential for fruit development. To encourage pollination:
Avoid spraying chemicals during flowering Plant pollinator-friendly flowers nearby Hand pollinate if necessary
Poor pollination can lead to small or misshapen fruit.
Common Watermelon Growing Problems Yellow Leaves
This can result from:
Overwatering Nutrient deficiencies Cold weather stress Fruit Splitting
Usually caused by inconsistent watering or sudden heavy rain.
Powdery Mildew
A fungal disease that appears as white powdery patches on leaves.
Prevent by:
Allowing airflow between plants Watering at soil level Avoiding overcrowding Poor Fruit Development
Often linked to poor pollination or insufficient sunlight.
How Long Do Watermelons Take to Grow?
Most watermelon varieties take:
70–100 days from seed to harvest
Smaller varieties often mature faster than larger ones.
Patience is important, but the reward is worth the wait.
How to Tell When a Watermelon Is Ready to Harvest
Knowing when to harvest can be tricky for beginners.
Signs a watermelon is ripe include:
The underside turns creamy yellow The curly tendril near the fruit dries out The melon sounds hollow when tapped The skin becomes dull rather than shiny
Use clean garden scissors or pruners to harvest fruit carefully.
Growing Watermelon in Containers
If space is limited, some watermelon varieties can be grown in large containers.
Tips for container growing:
Use a container at least 40–50 litres Choose compact varieties Provide strong support if growing vertically Water more frequently during hot weather
Container-grown plants still need full sun and nutrient-rich soil.
Saving Watermelon Seeds
Saving seeds from your healthiest fruit can help you grow future crops naturally.
To save seeds:
Scoop seeds from ripe fruit Wash away pulp Dry thoroughly Store in a cool, dry place
Properly stored seeds can remain viable for several years.
Final Thoughts
Growing watermelon from seed is one of the most enjoyable warm-season gardening projects. With sunshine, fertile soil, and regular care, you can harvest delicious, juicy melons right from your own backyard.
Whether you are a beginner gardener or experienced grower, starting with quality seeds makes all the difference. Explore premium seed varieties at Botanical Love Seed and enjoy the satisfaction of growing your own fresh watermelon at home.
— Botanical Love
Keep reading
More from the Blog
Zucchini Chutney & Relish: Make Your Own NZ Garden 🌱✨
🌱 From Garden Glut to Gorgeous Jars — Zucchini Chutney Relish NZ Style If you've ever grown zucchinis in a New Zealand summer, you know the joy — and the mild panic — of watching your plants produce way more than you bargained for! 🥰 That's exactly why learning to make your own zucchini chutney relish NZ style is such a game-changer. Instead of giving away bags of courgettes to every neighbour on the street, you can transform that beautiful bumper harvest into jars of golden, flavour-packed chutney and relish that you'll treasure all year long. ✨ Imagine opening your pantry in the middle of winter and pulling out a jar of summer sunshine you made with your own hands — how amazing is that?!
🌿 Grow & Process Your Own Sugar Cane into Sugar in NZ!
If you've ever dreamed of producing your very own sweetener straight from the garden, learning to grow sugar cane NZ-style is one of the most exciting and rewarding projects you can take on! 🌱 Sugar cane (Saccharum officinarum) is a magnificent, towering tropical grass that thrives surprisingly well in the warmer corners of Aotearoa — and the best part is, it's far more achievable than most Kiwi gardeners realise. Imagine walking out to your backyard, harvesting a bundle of golden canes, and squeezing fresh juice to make your very own raw sugar or golden syrup. How amazing is that?! This guide walks you through absolutely everything — from choosing the right variety and finding the perfect spot, all the way through to processing your harvest into real, homemade sweetness. ✨