Growing and Pressing Your Own Oil from Sunflower and Olives: A Complete Guide for Home Gardeners
11 July 2026 · 5 min read
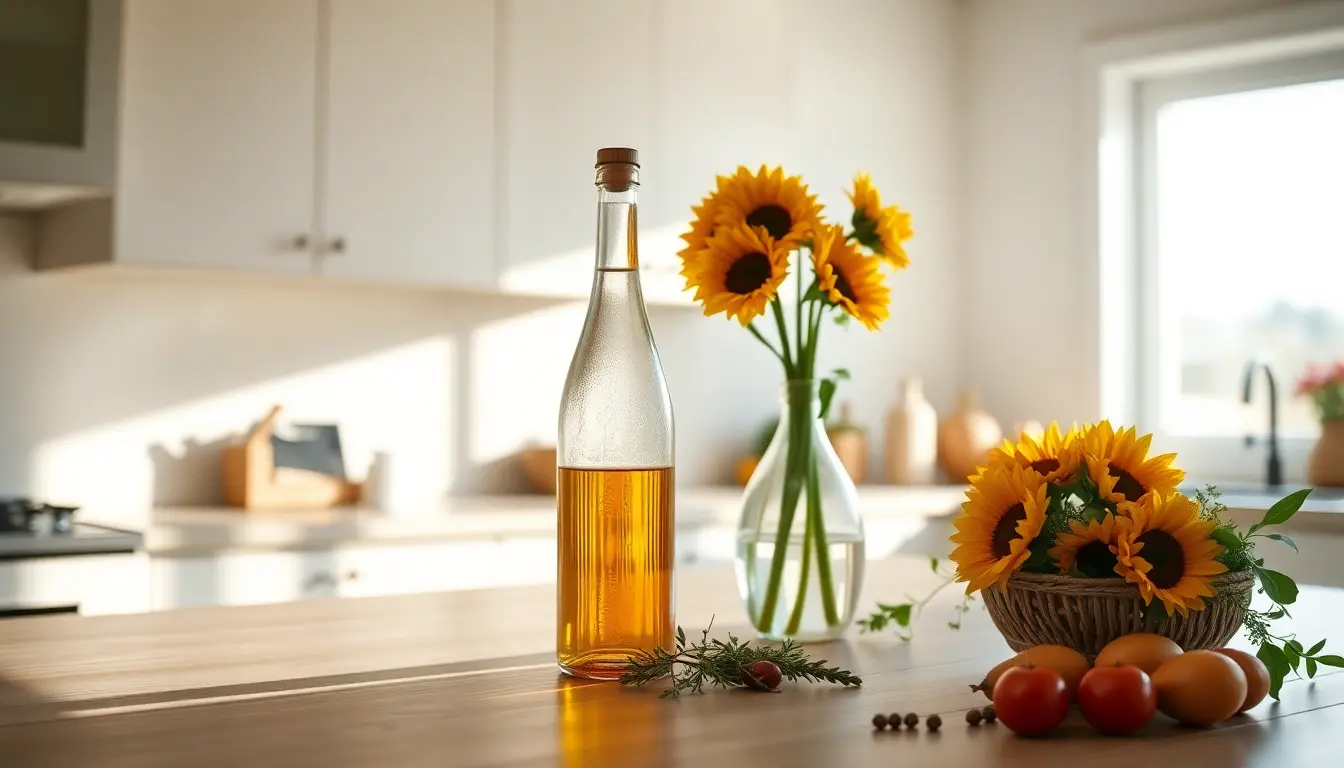
There's something genuinely magical about producing your own cooking oil at home. Imagine harvesting golden sunflowers from your garden, pressing them into silky oil, or picking olives from trees you've nurtured and transforming them into liquid gold for your kitchen. It's not just about the end product—though that's certainly delicious—it's about the entire journey from seed to table. In this comprehensive guide, we'll walk you through everything you need to know about growing and pressing your own oil from sunflowers and olives, right here in New Zealand.
Why Grow and Press Your Own Oil?
Before we dive into the nitty-gritty of cultivation and pressing, let's talk about why you'd want to embark on this rewarding journey in the first place. Growing and pressing your own oil offers benefits that go far beyond simply having a bottle of oil in your pantry.
The Freshness Factor
Store-bought oils, even the premium ones, have traveled a long journey before reaching your kitchen. They've been processed, bottled, shipped, and stored on shelves. By the time you use them, they're weeks or months old. When you press your own oil, you're using it at its absolute peak of freshness. That means better flavor, more nutritional value, and oils that haven't oxidized during storage and transport.
Health Benefits of Homemade Oil
Cold-pressed oils retain more of their natural nutrients, antioxidants, and beneficial compounds than commercially refined oils. When you control the entire process—from growing the plants to the pressing method—you know exactly what's in your oil. There are no additives, no preservatives, and no mystery ingredients. For health-conscious home gardeners, this peace of mind is invaluable.
Cost Savings Over Time
Yes, there's an initial investment in seeds, equipment, and time. But once you've got your plants established and your pressing setup ready, the cost per bottle of oil drops dramatically compared to buying premium oils at the supermarket. A single sunflower plant can produce enough seeds to make several liters of oil, and olive trees, once mature, produce abundantly for decades.
Sustainability and Self-Sufficiency
Growing your own oil reduces your reliance on commercial agriculture and the environmental impact of transportation. You're creating a closed-loop system in your own garden. Plus, there's genuine satisfaction in being more self-sufficient and reducing your household's carbon footprint.
The Joy of the Process
Let's be honest—there's pure joy in growing something from seed, nurturing it through the seasons, and then processing it into something you use every day. It connects you to your food in a way that shopping at the supermarket simply can't match.
Growing Sunflowers for Oil Production
Sunflowers are one of the easiest oil crops to grow in New Zealand, and they're absolutely stunning in the garden. But if you're growing them for oil production rather than just decoration, there are specific varieties and techniques you should know about.
Best Sunflower Varieties for Oil
Not all sunflowers are created equal when it comes to oil production. Ornamental varieties bred for their flowers might have smaller seeds or lower oil content. For serious oil production, you'll want to choose oil-type sunflower varieties.
Confection vs. Oil Sunflowers: Confection sunflowers are bred to have large, tasty seeds perfect for snacking. Oil sunflowers are smaller and have thinner shells with higher oil content. They're less impressive to look at, but they're far more efficient for pressing.
Some excellent oil sunflower varieties that do well in New Zealand include:
Peredovik: A Russian variety known for high oil content and good yields. It's reliable and relatively quick to mature. Romasol: Another excellent oil variety with good disease resistance and consistent yields. Heliasol: A hybrid variety that offers excellent oil content and adaptability to various growing conditions. Florasol: Known for its robust growth and reliable production, even in less-than-ideal conditions.
When ordering seeds, look specifically for "oil-type" or "oilseed" sunflowers rather than ornamental varieties. Botanical Love stocks quality sunflower seeds perfect for New Zealand growing conditions.
Planting and Care Guide
Sunflowers are remarkably forgiving plants, but a few key practices will maximize your oil yield.
Timing: In New Zealand, plant sunflower seeds directly into the ground after the last frost, typically from September to November depending on your region. Sunflowers need warm soil to germinate well, so don't rush the season.
Soil Preparation: Sunflowers aren't particularly fussy about soil, but they do prefer well-draining conditions. Work some compost or aged manure into your planting area. They're not heavy feeders, so you don't need to go overboard with fertilizer.
Spacing: For oil production, you want good air circulation and room for the plants to develop strong root systems. Space plants about 30-45 centimeters apart. This might seem sparse compared to ornamental plantings, but it results in healthier plants and better oil yields.
Sunlight: Sunflowers need full sun—at least six to eight hours daily, though more is better. They're called sunflowers for a reason! Choose a location that gets unobstructed sunlight throughout the day.
Watering: Water regularly during the growing season, especially during flowering and seed development. Sunflowers have deep root systems, so they're fairly drought-tolerant once established, but consistent moisture during critical growth stages improves yields. Aim for about 2-3 centimeters of water per week.
Support: Taller oil sunflower varieties might need staking in windy areas. Use soft ties to avoid damaging the stems.
When and How to Harvest
Timing your harvest correctly is crucial for oil production. You want seeds that are fully mature but not so dry that they're difficult to process.
Signs of Maturity: The back of the sunflower head will turn from green to yellow or brown. The seeds themselves will be plump and fully colored. If you gently rub the seed head, seeds should come away easily but not fall off on their own.
Harvesting Method: Cut the entire seed head from the plant, leaving about 15 centimeters of stem attached. This makes handling easier. Do this in the morning after any dew has dried.
Timing: In New Zealand, this typically happens from late January through March, depending on your planting date and location. Don't wait too long—birds and insects will start taking their share once seeds are fully ripe.
Drying Sunflower Seeds
Proper drying is essential for successful oil pressing. Wet or damp seeds won't press well and can develop mold.
Initial Drying: Hang the seed heads in a warm, dry, well-ventilated location. A garage, shed, or covered outdoor area works well. Hang them upside down so any moisture drips away. This initial phase takes about two to three weeks.
Seed Removal: Once the heads are dry, rub them vigorously against a rough surface or between your hands to loosen the seeds. A wire brush works well for this. The seeds should come away easily from the dried head.
Final Drying: Spread the loose seeds on a clean surface in a warm, dry location with good air circulation. Stir them occasionally to ensure even drying. This final drying phase takes another one to two weeks. Seeds are ready when they're completely dry and hard—you shouldn't be able to dent one with your fingernail.
Storage Before Pressing: Store dried seeds in a cool, dry place in airtight containers. They'll keep for several months, though fresher seeds generally press better.
Processing Sunflower Seeds into Oil
Now comes the exciting part—turning those seeds into oil. This process is more accessible than many people realize, and you don't need industrial equipment to do it successfully.
Roasting Seeds Before Pressing
Many home oil makers roast their sunflower seeds before pressing. This step isn't absolutely necessary, but it offers several advantages.
Benefits of Roasting: Roasting develops flavor, makes the seeds easier to press, and can improve oil yield slightly. It also helps kill any potential pathogens on the seed surface.
How to Roast: Spread your dried seeds on a baking tray and roast at 160-180°C for about 15-20 minutes, stirring occasionally. You're looking for a light golden color and a pleasant nutty aroma. Don't overdo it—burnt seeds produce burnt-tasting oil.
Cooling: Let the roasted seeds cool completely before pressing. Warm seeds can be more difficult to work with and might produce oil that's harder to filter.
Oil Extraction Methods Comparison
There are several ways to extract oil from sunflower seeds at home, each with advantages and disadvantages.
Cold Pressing: This method uses mechanical pressure without heat. It preserves more nutrients and produces oil with better flavor and color. However, it's slower and yields slightly less oil than hot pressing. For home use, cold pressing is generally preferred because the resulting oil is more nutritious and flavorful.
Hot Pressing: Heating the seeds before or during pressing increases oil yield and makes pressing easier. However, heat damages some nutrients and can affect flavor. The oil is still good, but not quite as nutritious as cold-pressed oil.
Solvent Extraction: This commercial method uses chemicals to extract oil. It's not practical or safe for home use, so we'll skip this one.
Manual Hand Pressing: For very small quantities, you can manually press seeds using a mortar and pestle or a simple hand-operated press. It's labor-intensive but requires no electricity.
Step-by-Step Pressing Guide
Let's walk through the actual pressing process. We'll focus on cold pressing, which is ideal for home production.
Equipment You'll Need:
An oil press (manual or electric) Cheesecloth or fine mesh strainer Glass jars for collection A funnel Clean containers for storage
The Process:
Prepare Your Seeds: Use roasted, cooled seeds that are completely dry. Remove any debris, broken seeds, or foreign material.
Feed the Press: Depending on your press type, feed seeds into the hopper slowly and steadily. Don't rush—the press works best with a consistent feed rate.
Collect the Oil: Oil will flow from the spout into your collection container. The pressed seed cake will come out the other end. This is actually useful—you can use it as animal feed or compost it.
Initial Filtering: The oil that comes directly from the press might be slightly cloudy or contain fine particles. Pour it through cheesecloth into a clean jar. Let it sit for a few hours to allow any remaining particles to settle.
Fine Filtering: For crystal-clear oil, you can filter again through finer mesh or even coffee filters, though this takes patience.
Storage: Pour your finished oil into clean, dark glass bottles. Store in a cool, dark place.
Yield Expectations Per Plant
How much oil can you actually get from sunflowers? This is the question every home oil maker asks.
Typical Yields: A mature sunflower plant with a good-sized seed head can produce about 50-100 grams of seeds. Sunflower seeds are roughly 40-50% oil by weight, so you're looking at about 20-50 milliliters of oil per plant. That might not sound like much, but remember that a single plant takes up minimal space, and you can grow dozens in a small garden.
Maximizing Yield: To get the best yields, ensure your plants have optimal growing conditions—full sun, consistent water, and good soil. Larger seed heads mean more seeds and more oil. Some gardeners report yields of up to 100 milliliters per plant with excellent growing conditions.
The Math: If you grow 20 sunflower plants and get an average of 30 milliliters per plant, that's 600 milliliters—more than half a liter of fresh sunflower oil from a small garden plot. Over a season, that's a meaningful amount of cooking oil.
Growing Olives in Your Home Garden
Olive trees are a longer-term investment than sunflowers, but they're absolutely worth it. A mature olive tree can produce for 50 years or more, and there's something deeply satisfying about harvesting olives from a tree you've grown and cared for.
Olive Tree Varieties and Care
Not all olive varieties are suitable for New Zealand, but several do remarkably well in our climate.
Best Varieties for New Zealand:
Arbequina: A Spanish variety that's one of the most cold-hardy olives. It produces smaller fruit but excellent oil. It's self-fertile, so you only need one tree, though cross-pollination improves yields. Frantoio: An Italian variety known for excellent oil quality. It's moderately cold-hardy and produces well in warmer parts of New Zealand. Koroneiki: A Greek variety with good cold tolerance and excellent oil production. The fruit is smaller but oil-rich. Manzanillo: A Spanish variety that's both a good eating olive and produces decent oil. It's reasonably cold-hardy. Picual: Another Spanish variety with good cold hardiness and excellent oil content.
Choosing Your Variety: Consider your location's climate. In warmer regions like Auckland, Hawke's Bay, or Marlborough, you have more options. In cooler areas, stick with the most cold-hardy varieties like Arbequina.
Climate and Soil Requirements
Olives are Mediterranean plants, so they prefer warm, dry conditions. However, many varieties adapt well to New Zealand's climate with proper care.
Temperature: Olives can tolerate frost, but sustained temperatures below -10°C can damage trees. Most New Zealand regions are suitable, though northern areas are ideal. In colder regions, plant in a sheltered, north-facing location.
Rainfall: Olives prefer drier conditions than many fruit trees. In high-rainfall areas, ensure excellent drainage. If your region gets more than 1000mm of rain annually, choose a well-draining site and consider raised beds.
Soil: Olives are incredibly adaptable to soil types. They prefer slightly alkaline to neutral soil (pH 7-8) but tolerate acidic soil. The key requirement is drainage—they hate waterlogged roots. If you have heavy clay, amend with sand and compost to improve drainage.
Sunlight: Olives need full sun. Choose a location with at least six to eight hours of direct sunlight daily, though more is better.
Timeline to First Harvest
This is where patience comes in. Olive trees don't produce fruit immediately.
First Few Years: Young trees focus on establishing roots and growing. You won't get fruit for the first three to five years after planting. Some varieties are faster than others—Arbequina often produces in three years, while other varieties might take five or more.
Maturity: Trees reach good production levels around year seven to ten. A mature tree can produce 20-50 kilograms of olives annually, depending on variety and growing conditions.
Patience Pays Off: Yes, it's a wait. But once your tree starts producing, it'll keep producing for decades. That's a long-term investment in your garden and your oil supply.
Harvesting Olives for Oil
Timing your olive harvest is crucial for oil quality.
Harvest Timing: For oil production, you want olives that are fully ripe—dark purple or black. This usually happens from March to May in New Zealand, depending on your location and variety.
Harvesting Method: Pick olives by hand or use a soft rake to gently comb them from branches into a sheet spread beneath the tree. Handle them gently—bruised olives produce lower-quality oil.
Processing Timing: Unlike sunflower seeds, olives should be processed quickly after harvest—ideally within 24-48 hours. The longer they sit, the more their quality degrades.
Making Olive Oil at Home
Pressing olives is more complex than pressing sunflower seeds, but it's absolutely doable at home with the right approach.
Olive Oil Extraction Process
The traditional olive oil extraction process involves several steps.
Washing: Gently wash your olives to remove leaves, twigs, and dirt. Use cool water and handle carefully.
Crushing: Olives need to be crushed to break down the cell walls and release the oil. Traditionally, this was done with large stone wheels, but at home, you can use various methods.
Malaxing: This is the slow mixing of crushed olives to help oil droplets combine into larger drops that are easier to separate. This step takes 20-40 minutes and is crucial for good oil yield.
Pressing or Centrifuging: The crushed, malaxed olive paste is then pressed to separate oil from the solid matter. At home, you'll use pressing methods rather than centrifuges.
Settling and Filtering: The pressed oil contains water and fine particles. It's allowed to settle, then filtered to produce clear oil.
Manual Pressing Without Expensive Equipment
You don
— Botanical Love
Keep reading
More from the Blog
Zucchini Chutney & Relish: Make Your Own NZ Garden 🌱✨
🌱 From Garden Glut to Gorgeous Jars — Zucchini Chutney Relish NZ Style If you've ever grown zucchinis in a New Zealand summer, you know the joy — and the mild panic — of watching your plants produce way more than you bargained for! 🥰 That's exactly why learning to make your own zucchini chutney relish NZ style is such a game-changer. Instead of giving away bags of courgettes to every neighbour on the street, you can transform that beautiful bumper harvest into jars of golden, flavour-packed chutney and relish that you'll treasure all year long. ✨ Imagine opening your pantry in the middle of winter and pulling out a jar of summer sunshine you made with your own hands — how amazing is that?!
🌿 Grow & Process Your Own Sugar Cane into Sugar in NZ!
If you've ever dreamed of producing your very own sweetener straight from the garden, learning to grow sugar cane NZ-style is one of the most exciting and rewarding projects you can take on! 🌱 Sugar cane (Saccharum officinarum) is a magnificent, towering tropical grass that thrives surprisingly well in the warmer corners of Aotearoa — and the best part is, it's far more achievable than most Kiwi gardeners realise. Imagine walking out to your backyard, harvesting a bundle of golden canes, and squeezing fresh juice to make your very own raw sugar or golden syrup. How amazing is that?! This guide walks you through absolutely everything — from choosing the right variety and finding the perfect spot, all the way through to processing your harvest into real, homemade sweetness. ✨